* Editors note: TOWNHALL News Editor Katie Pavlich is participating in a multi-day firearms training course at the Gunsite Academy in Paulden, Arizona. Stay tuned for daily dispatches. This is the fifth dispatch. As the dispatches accumulate, they'll all be available here.
PAULDEN, Ariz. - “We will teach you how to save your life.”
Now that my carbine training is complete (for now), I’m onto my defensive pistol class.
We started Monday at 8 a.m. by saying the pledge of allegiance. We were given a Gunsite defensive pistol student manual, a name tag, a pen, an American flag pin with the Gunsite logo in the middle and a mini Declaration of Independence and Constitution of the United States of America. Obviously at this place, amendment number two is the most popular.
Recommended
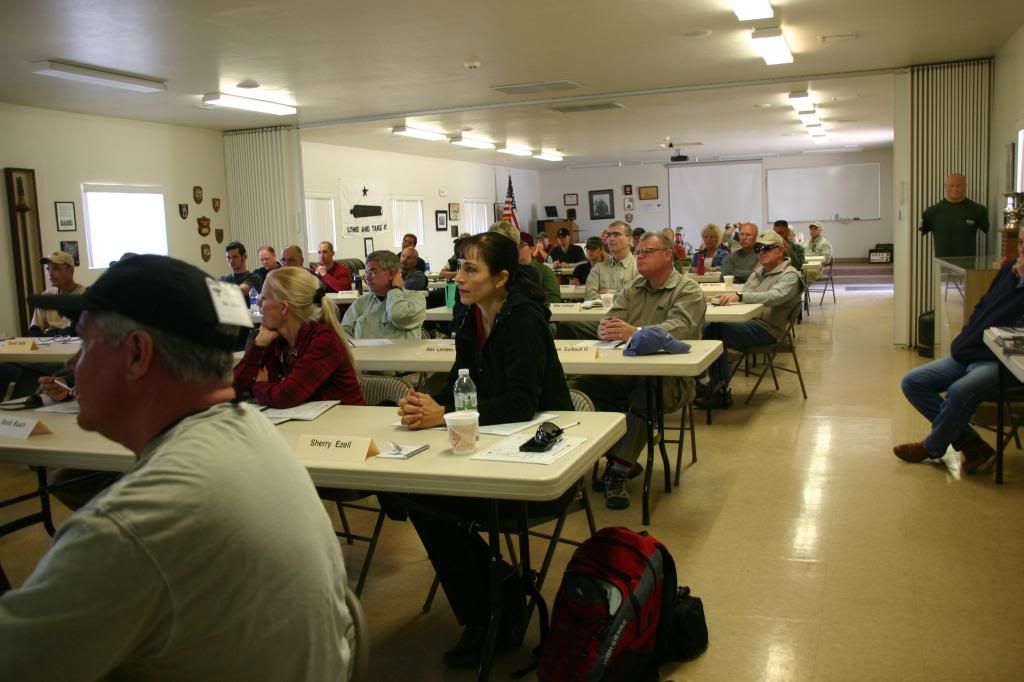
Before hitting the range, I along with over 20 other students, were given two hours of lecture time inside of a classroom. We again went over the four rules of gun safety:
ALL guns are always loaded.
NEVER let the muzzle cover anything which you are not willing to destroy.
Keep you finger OFF the trigger until your sights are on the target.
ALWAYS be sure of your target.
(Photo: Jane Anne Shimizu)
Most of the students in the class are using semi-automatic 9 mm or .45 caliber handguns, just one person is using a revolver. I’m using a 9 mm Glock, which is semi-automatic. The advantage to using a semi-automatic handgun for self-defense or carry is that it can hold more rounds and is easily re-loadable. The problem is, there is more potential for malfunction, jams and failure. Revolvers on the other hand typically hold only five rounds, but are nearly fail proof when it comes to malfunctions. Like anything else, every firearm has its tradeoffs.
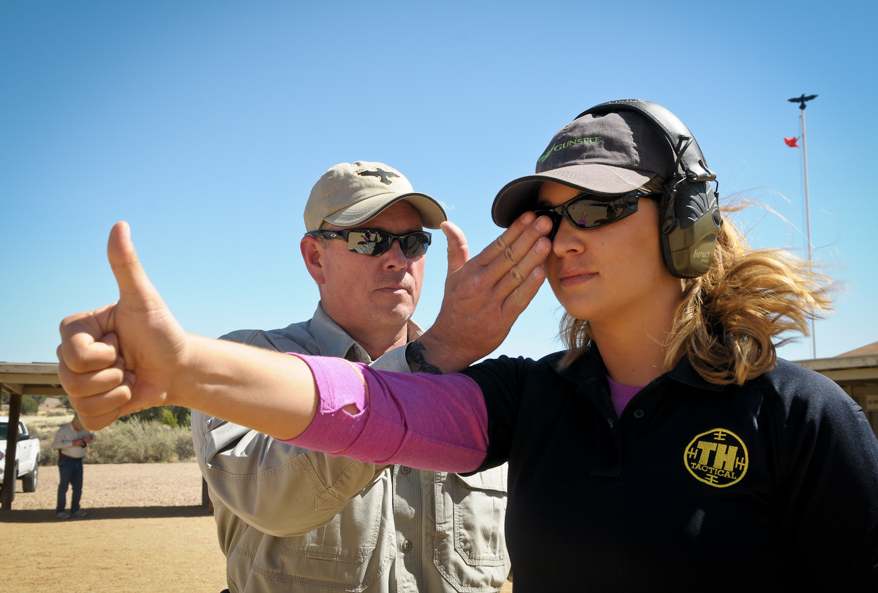
Because it was the first day, we went over the basics of stance and draw of the gun. The stance is the same as it is with a carbine and is known as the “Weaver stance.” Left foot in slightly front of right (as a right handed shooter) shoulder width apart with the shoulders just over the belt buckle. Now, right handed shooters aren’t always right eye dominant and therefore, it is important to do a eye dominance test before getting started. This can be accomplished by holding your thumb out in front of you and covering one eye. If the thumb stays in the same position when looking with the uncovered eye, that’s the dominant eye.
(Photo: Alex Landeen, LandeenPhotography.com)
Before unholstering a handgun at the range, students are told to “make ready.” The first thing to check is eyes and ears for protection. Next, students prepare their handgun. Is it loaded? Is there a round in the chamber? Then, the gun is re-holstered before the draw.
The draw involves five steps.
Grip - hand moves aggressively onto the handgun in order to get a firm grip, handgun is still in the holster at this point with the index finger straight off of the trigger. The left hand is positioned just below the rip cage in the upper stomach area.
Clear - hand pulls the gun straight up and out of the holster approximately two inches
Rotate - barrel of the gun is rotated down range (previously pointing down through the holster), finger still off the trigger
Slap - the left hand moves to meet the right hand, makes a firm grip with the left hand pulling, right hand pushing while thumbs are placed on top of each other. This is when the index finger finally goes on the trigger.
Extend - both arms extend out, both elbows slightly bent, the left arm being slightly more bent than the right arm and tucked in, fire after smoothly pressing the trigger
The vast majority of self-defense situations occur within conversation distance of an attacker. In the pistol class Monday, students shot their target from three yards, five yards, seven yards and ten yards. The further back from the target when shooting a pistol, the more important it is to smoothly press the trigger, rather than yank it in anticipation of recoil.
(Photo: Jane Anne Shimizu)
Tuesday, day two of the class, we’ll be learning more about situational awareness, handgun malfunction clearing and faster, but accurate, shooting skills.
* Editors note: TOWNHALL News Editor Katie Pavlich is participating in a multi-day firearms training course at the Gunsite Academy in Paulden, Arizona. Stay tuned for daily dispatches. This is the fifth dispatch. As the dispatches accumulate, they'll all be available here.Correction: The author initially stated incorrectly that the students shot targets from three, five, seven and ten “feet”. The article has since been updated.


